
Hi beauties!!

Click here to watch full tutorial
This is my complete foundation routine! When I film my videos, I tend to skip eyebrows and foundation because it’s repetitive. However, I do understand where some viewers may want to see a complete routine or what products I used. I will always list my foundation and eyebrow products on my blog, especially if it’s something new, if it’s not listed here I will reference a previous post or video where I do mention the product. This is in a huge effort to keep my videos simple and clean and without the clutter of too many products.
Anyway, If you did stop by from my video, you will find a bit more information here that I had missed in my video. So good for you, my bright young reader lol.
Onto my list of products with a bit more details!
Prep:
- Lips: My Favorite Lip Balm. I got this lip balm in Bath & Body Works for anyone interested in it but just use your favorite lip balm.
- Moisturizer: First Aid Beauty Ultra Repair Cream. I absolutely love the finish of this cream. It’s a bit heavy but dries down almost instantly into a matte finish which is so hard to find for dry skin. If you have dry skin like me, your skin will love this stuff. It’s fragrance free and is without any harsh chemicals so sensitive skin will love it too.
- Primer: Now I normally love my Hard Candy Sheer Envy Dark Spot Correcting Primer but for this video tutorial I decided to change it up with Smashbox Photo Finish Primer which has more of a silicone feel instead of creamy.
Tools:

Sponges: I used Real Techniques Miracle Complexion Sponge (Where I got mine) and the other sponge I bought at Marshalls many years ago and for the life of me I cannot remember the name of the company. I really wish I remembered and I promise if I do I will update this immediately but it’s a simple, soft, very affordable cosmetic sponge. Both these sponges have different textures and both help in achieving what I want. You can of course use one or two of the same sponges and you can create the same effect but that darn little black sponge creates such a subtle lovely difference which is why I use it.
Click here to watch full tutorial!

Bronzer/Contour/Blush/highlighter:
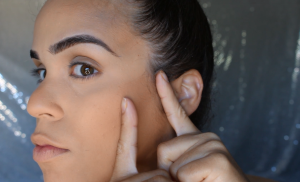
- Bronzer: For Bronzer I use my favorite Crown Brush BK27 Badger Flat Bronzer Brush. This has been my preferred bronzer brush for many many years now. I use a technique where I dip the brush at an angle into the product and only pick up on a small section of the brush. I then apply the brush in the same angle on the face and begin to work in the product. I always get a flawless application! If you want to see my exact technique watch my tutorial (at 2:50)!
I only apply contour product to this small area. If you want you can also just “deepen” this area with your bronzer for a “brontour” and skip the brown grey color all together. - Contour: For Contour I normally Use my E.L.F. Small Stipple Brush (where I got mine). I like this brush because it’s a duo fiber brush with different length fibers. This gives me a lighter application (because let’s be honest, it’s easy to get heavy handed with the contour). It blends out my cream contour softly and only picks up a bit of product. It’s always better to build up than to try to cover up too much. I also use this brush sometimes for highlighter, especially if it’s a cream.
- Blush: For this tutorial I used my Sigma F40 brush, but the brush that has replaced that one in my everyday makeup is my Moonriver Large Angled Contour Brush (where I got mine). It’s so much cheaper and a bit smaller for more precision. I didn’t use mine for this tutorial because it was in need of a deep clean but you can see if featured in many of my other tutorials. My sigma brush is SUPER old! I recommend the Moonriver brush simply because the quality is great and it’s so much cheaper!
- Highlighter: For highlighter I normally reach for my Real Techniques Setting Brush (Where I got mine). I love this brush because it’s small and tapered. It applies the perfect amount and I can build up that sheen from my highlight to the heavens. I also use this brush sometimes for my contour but I prefer my E.L.F brush.

Click here to watch full tutorial!
Products:

- Foundation: For this tutorial I used Smashbox Studio Skin Foundation because it’s so long lasting. My idea with this video was to create a look that anyone could wear anywhere. For work, a party, a date. That is why I chose this foundation. It’s not only long lasting but whatever you apply over it will last just as long. It’s a bit heavier than my everyday foundation but it doesn’t feel so heavy it’s uncomfortable. For a lighter foundation I recommend Urban Decay Naked Skin. The coverage is buildable but it feels incredibly light and comfortable on the skin. My other favorite is L’oreal Lumi Foundation because of it’s amazing finish. It looks radiant and natural and the color choices are endless.
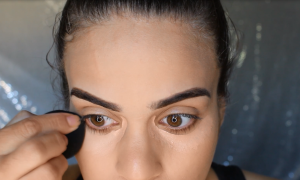
I use a different sponge for my concealer. This sponge has less texture and picks up a bit more product than the real techniques sponge. I get a light application of concealer and less creasing in my fine lines. You do not need a ton of concealer to hide those dark circles. Concealer is more pigmented than foundation, so go with less and build up to your desired coverage. - Concealer: For concealer I went with an oldie, my NYX HD Concealer. This I love this concealer because it has a bit of a peachy undertone which covers my undereye circles wonderfully plus provide great coverage and highlights ALL AT ONCE! My usual concealer is the MAC Pro Long Wear Concealer, but the NYX concealer is for sure a cheaper, just as good option. As always to set the concealer I used Bare Mineral Mineral Veil powder.
- Bronzer: My trusted Tarte Amazonian Clay Bronzer in Park Ave Princess has to be my favorite bronzer of the ones I’ve tried. It warms up my skin without adding a yellow, orange or gray tone.
Contour should look natural. If you have striped of color you will look odd out in sunlight. If you feel any layer of product is too heavy or strong, use your fingers or a sponge to help blend and pick up some of that product off of the skin. You can also use a clean brush but I prefer damp sponges or fingers as they will pick up product and blend.


- Contour: For contour I always reach for MAC Pro Sculpting Cream in Coffee Walnut. I’ve tried and have swatched other contour products that I just really don’t like. I prefer a color that’s a bit more gray than brown simply because that’s the color I feel closest matches my natural shadows. The day I see a red brown shadow I will buy a bronzer color for a contour but so far this color is my favorite. Think of a contour color as a color that will slightly deepen your natural shadow in the hallow of your cheek bone. What I love most about this is that it blend into powders and creams alike so even if you set your face with powder this product will perform just the same.
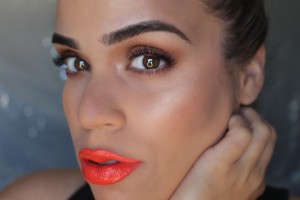
A great highlighter will accent those cheekbones and give an illusion of a lift. It also adds youth to any look. You don’t have to splurge for a shine this high! - Highlight: For highlight I used my new favorite TLS Cosmetics Highlight Powder in Luminesce. This product kicked my Becca Shimmering Skin Perfector in the arse! It’s cheaper, it’s louder, it’s buildable! This stuff is amazing. Comparing it to the Becca Highlighter is not all that possible, but what I can tell you is that you will not miss out on an instagram worthy glow! When it comes to highlight there are two ways you can do it for two very different finishes. One is that you can apply the highlighter before blush so that you can use the blush to blend the highlighter down slightly and melt it into your blush for a gorgeous “natural” looking finish. The second option is applying it AFTER blush for that glammed out stripe of highlighter that is so popular right now. Either way applied this TLS highlighter DELIVERS!
- Blush: I’ve been OBSESSED with my Kiko Soft touch blushes. I used number 102 for this tutorial. These are so pigmented but blend out so beautifully when worked into the skin. This is a matte shade, which I have been preferring with strong highlighters.

And that is it! I hope this was very informative and that you learned something new! If I missed anything don’t be afraid to comment and or request anything you want me to create. I am open to suggestions and comments!
http://Click here to watch full tutorial!
Thanks for stopping by,
E.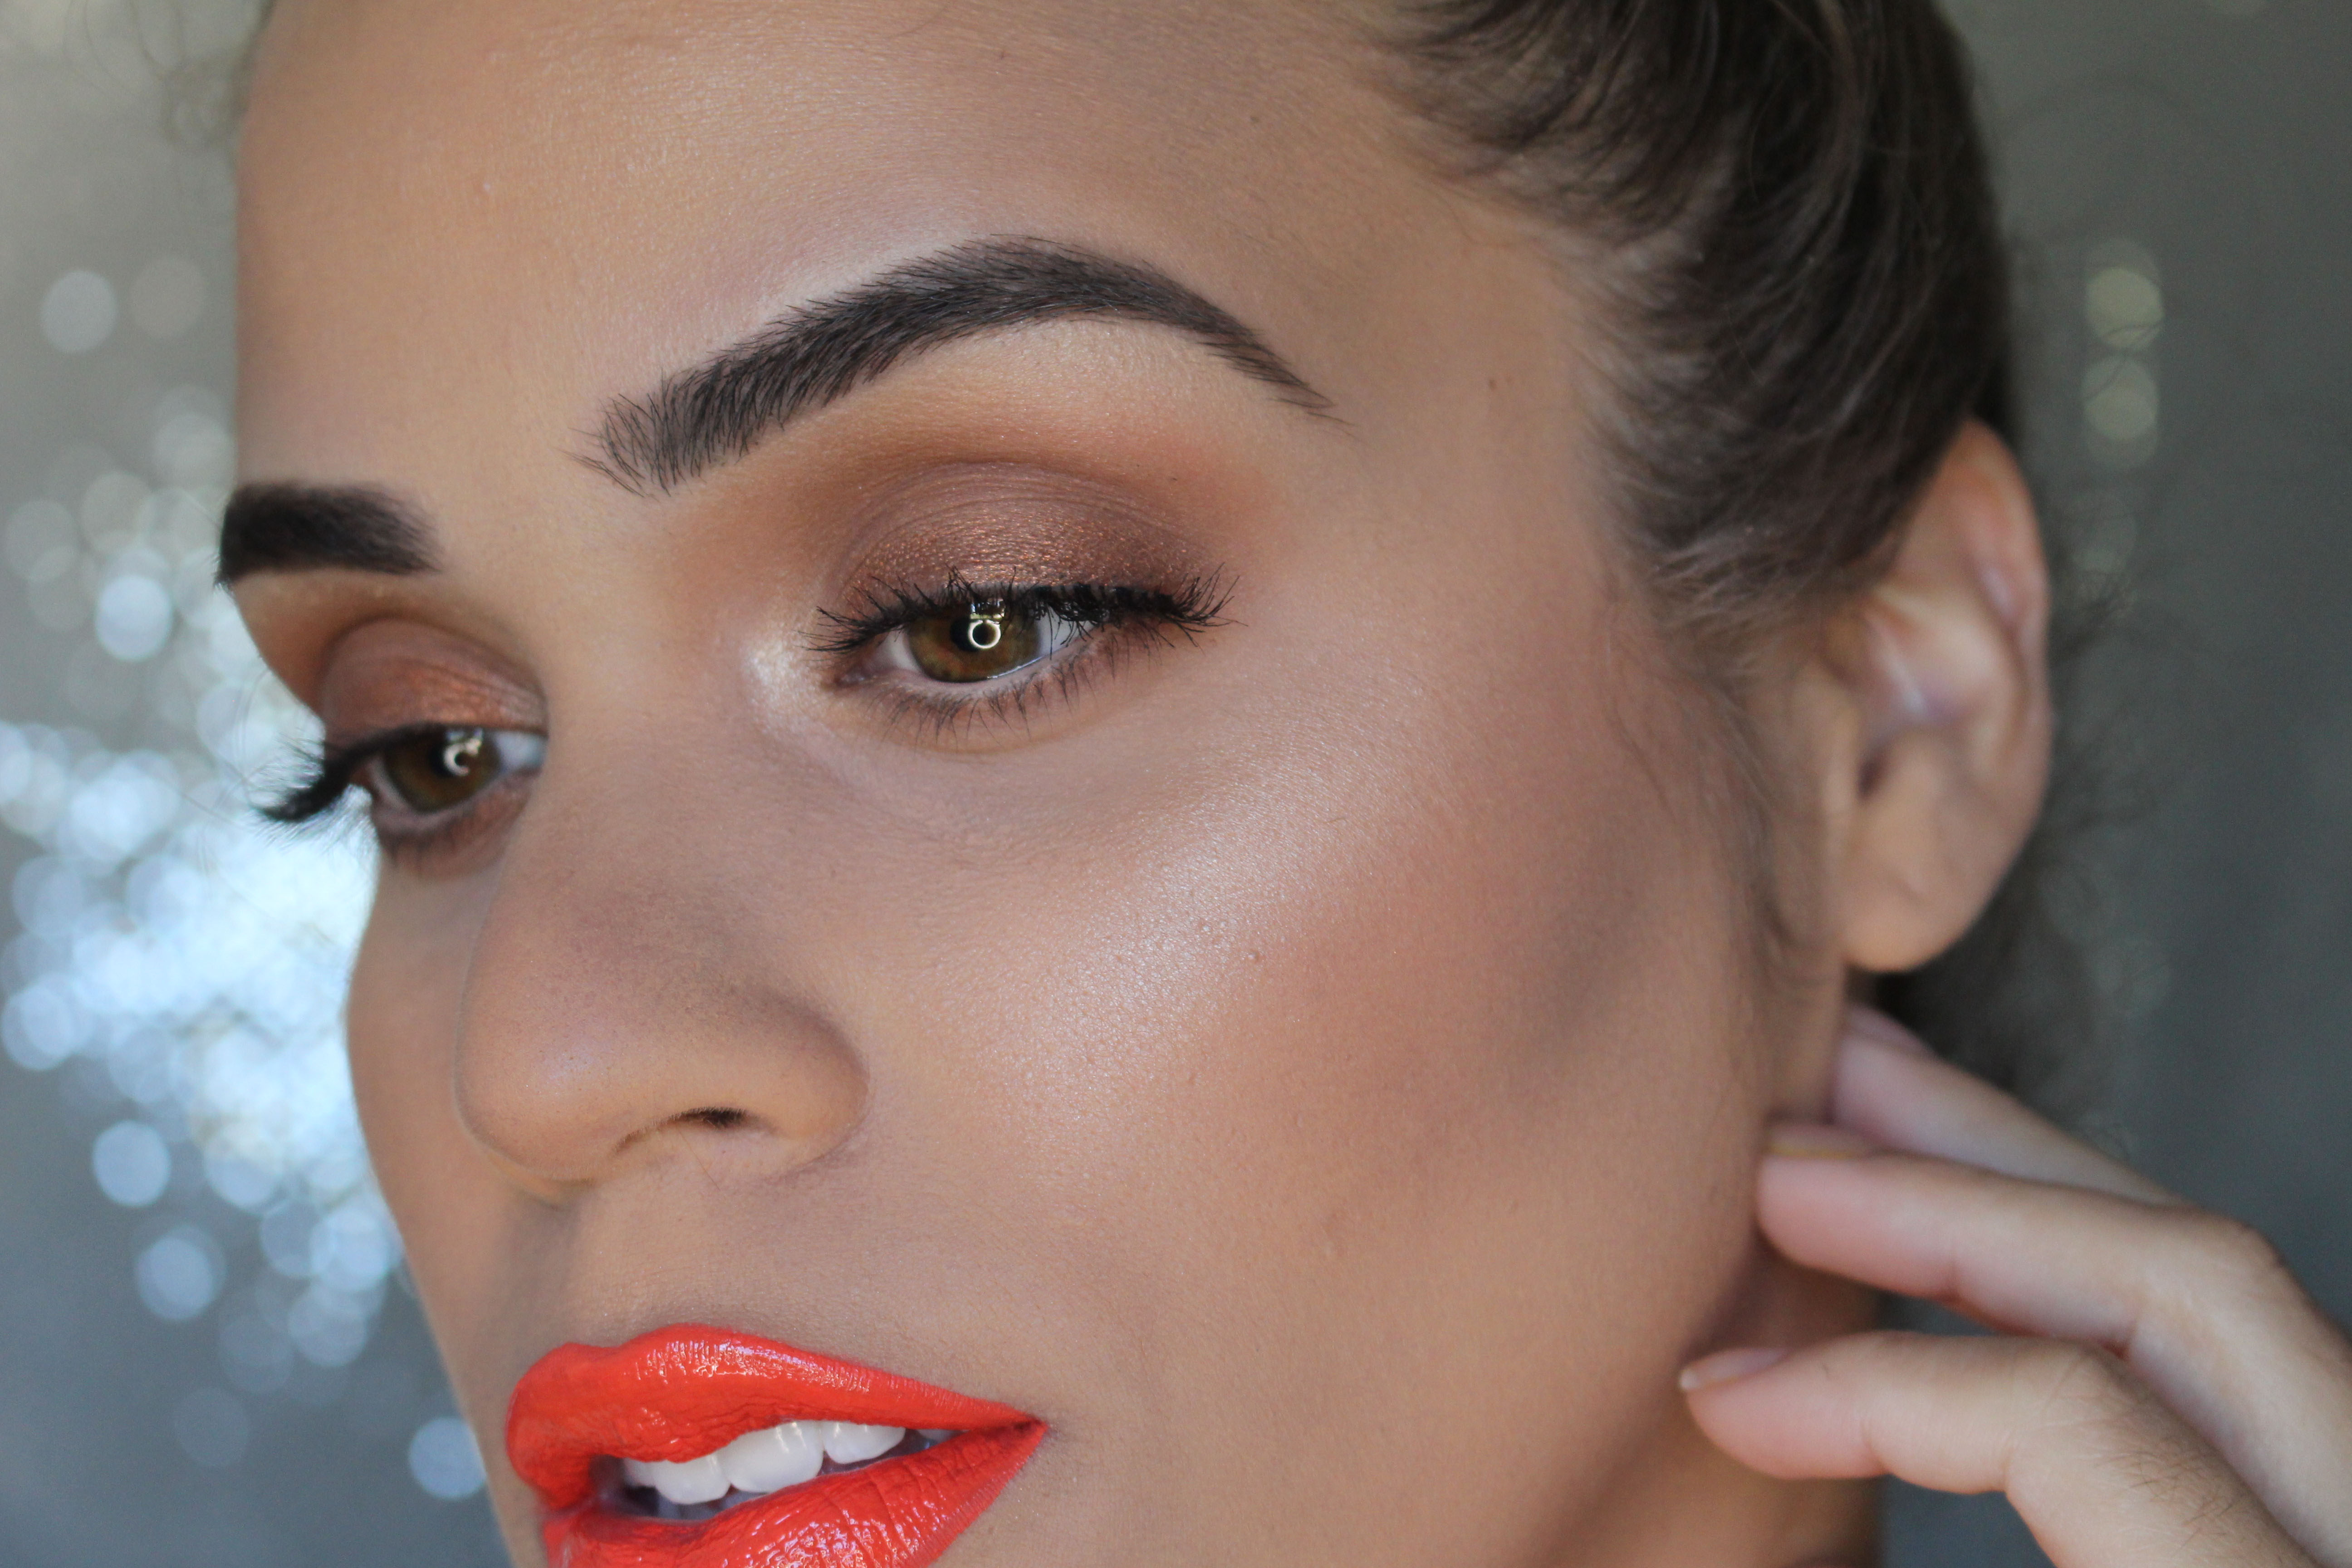

[…] Foundation Routine Blog Post […]
LikeLike
[…] Foundation, contour, and highlight routine […]
LikeLike
[…] actually have an in detail blog post on my foundation routine. If you would like to see my foundation routine click here! I did, however, use a few different products which I will list down […]
LikeLike
[…] Foundation Routine Blog Post […]
LikeLike
[…] Full Foundation Routine Blog Post […]
LikeLike
[…] Foundation Routine […]
LikeLike
[…] Click here to see my full Foundation Routine Blog post. […]
LikeLike